
When it comes to mixing there’s no right or wrong way to do things as long as the end result sounds good, but it can be hard to know where to start and having a general framework or baseline for your mix can optimize your workflow and help you to focus on the small tweaks that make each mix unique. One member of our team, Jorgen Paul, works as a mixing engineer at a studio in Seattle, WA and focuses on pop and other vocal based genres. In this article we sat down with Jorgen to talk about a standard vocal chain that he might start with and how it can be tweaked depending on the genre and sound you’re going for.
More important than anything is getting the right vocal. A bad vocal take is still going to be a bad take even after it’s been polished so make sure that your performance is good and your recording is good. A common mistake people make is recording way too loud. You can always turn up your vocal and with all of the processing you’ll be doing to the vocal you’ll need a lot of headroom. I usually record my vocals at about -10db. Make sure any white noise, breathes, clicks, pops, etc. are all taken care of before even starting to mix.
The first thing I do is always tune my vocals. There’s multiple different autotunes out there that work just fine but I’ve found the best and most commonly used is Antares Autotune. Antares has an iconic sound and ill use it on just about everything even if I don’t want the “autotune” sound. If you put Antares on a vocal at a really low retune speed it provides a nice polished sheen to your vocal without giving it the obvious autotune sound. For more hip-hop and modern pop I’ll have the retune speed much higher to bring out that modern sound. I use melodyne on more stipped and raw songs like singer-songwriter, folk, and some pop. Melodyne is great for pitch correcting vocals without modifying the way they sound at all, but even if I use Melodyne I’ll usually put autotune after it at a really low setting for that brightness that it offers.

Soothe is a fantastic plugin that I’ll never go without. It’s effect is subtle but extremely beneficial. It quite literally “soothes” the sound and does an excellent job of taming harsh frequencies without altering the sound that it’s on. When I have soothe on a vocal I’ll usually be doing some taming of the mids or some slight de-essing.

My first EQ will usually be Fabfilter or another form of graphic EQ with a lot of bands. This is where I’ll make my narrower surgical cuts to frequencies that are really bothersome. I’ll also add a high pass filter to cut out lows and usually a high shelf to boost some highs. With most pop and hip-hop I’ll be cutting out a good portion of the low end with a high pass around 100hz and cutting an additional 3db around the 300 - 400 hz area where a lot of muddiness tends to come from. Other areas to play with are around 1 khz and 1.7 khz - 2 khz where a lot of boxiness and naziliness tend to come from respectively and the 5 khz range where a lot of the harshness in a vocal can come from. It’s important not to do too much cutting in this range though because a lot of the life comes from this band and if too much is cut the vocal can sound flat and lifeless. I will also listen for any frequencies that are clearly a problem, sometimes you can hear a slight whistling or rumbling which indicates some sort of frequency that needs to be tamed. You can pinpoint the frequency by making a very narrow band on your eq, boosting it and then scanning the EQ until you hear the exact frequency that was problematic which you’ll then cut. As always every voice is different and therefore every EQ will be different but these are some of the general areas I am really focusing on to get a good sound.

Most vocal chains will want some sort of De-essing. I will generally use Waves DeEsser or Fabfilter Pro-DS and generally will be De-essing around 5 kHz. Similar to the EQ you don’t want to overdue de-essing because it can take some life out of the vocal.
I almost always use the CLA-2A for the first round of major compression on my vocals and to provide a volume boost to the audio as well. The 2A has a frequency responsive attack and release that is particularly well suited for vocals so it makes it very easy to dial in your compression without having to worry about adjusting attack and release. The level of compression I use varies based on the style of song but more hip-hop, edm, and more modern pop I will generally push -5 to -7db worth of compression. For something with a lighter or more stripped sound I will do much less maybe pushing 3db. The compression stage is huge for vocal processing and is essential for evening out the vocal signal and reducing the unwanted dynamics that are bound to be apparent in a live recording.

After my first compression stage I’ll generally do another round of EQ where I adjust broad bands instead of the more surgical EQing from the Pro-Q3. For this I generally use an EQ like the SSL E Channel that is modeled after a hardware EQ and is split into limited bands. Having a hardware style EQ forces you to use your ears instead of relying on your eyes which can be a common issue with more visual EQ’s like Fabfilters. The SSL is split into 3 main bands plus a low pass filter. Generally I will be adding a little bit more high end, cutting a little in the upper mids (3 - 5 khz), and cutting a little more in the lower mids - (300 - 500 hz) but this varies with every vocal so play around and listen for what sounds good to you.

Once all of my EQing is done I will usually do a round of multi-band compression. I love Fabfilter for multi-band compression, I find it makes it really intuitive. Multi-band compression can be a tough concept to really grasp and utilize but having the visual interface of the Pro-MB helped me start using multi-band compression a lot more intuitively. I treat my multi-band almost like another wide band EQ but with the addition of compression on top which can help tame some boosted frequencies. For example Ill often do a big boost to the highs (8khz+) but will also apply a large amount of compression to that band so the highs don’t get out of hand and resonant frequencies get tamed. Multi-band is a great way to enhance your sound without bringing out too many unwanted frequencies.

Now that I have the dry vocal shaped the way I want it I’ll generally do one more set of compression to help make the vocal more even sounding and to bring up the volume a bit. This is not always necessary is very genre dependent. For Hip-hop, EDM, and modern pop you can get away with a lot of compression and I'll generally add 3-6db of additional compression. For a singer-songwriter song I would probably skip this step. I generally use Rvox from Waves.
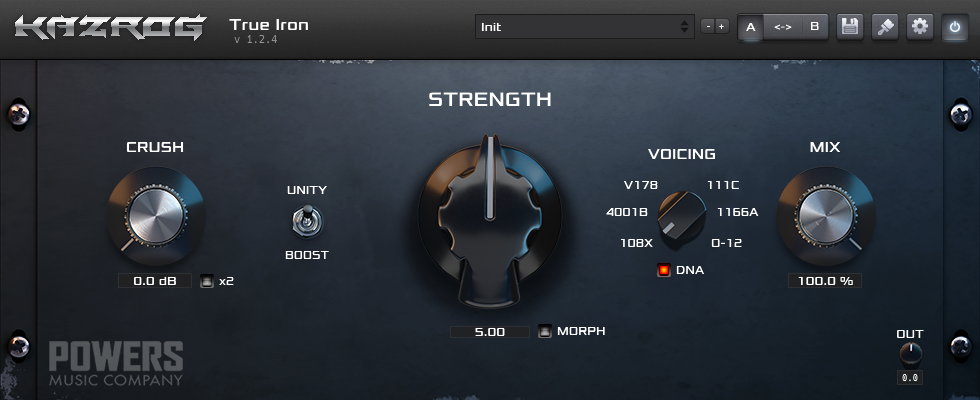
Next I like to add a little bit of warmth and color to the vocal with saturation. I use a handful of different saturators including True Iron, the Waves J37, and FabFilter Saturn. They all have their benefits and unique characteristics but it’s hard to go wrong. Sometimes I consciously pick a specific one with an exact intention of getting a specific sound I want out of it and sometimes it just depends on the day and what I’ve been playing with that week. Play around with them and see what you like.
I tend to mix my vocals very bright and sometimes that can make the vocals sit a little too on top of the mix. Sometimes if I need a little more glue between the vocal and instrumental I’ll add a very short ambience reverb with a tale between 0.4 and 0.8 seconds. I will have a very small amount of mix on it (probably no more than 10%) and will adjust it to taste to make the vocal sit back just a little bit. If you can actively hear the reverb it’s too much. My favorite reverb for this is Valhalla Vintage Verb.
If I have a lot of vocals going on I’ll usually end with a limiter. This acts kind of like a compressor and just brings the vocals up to a similar level without allowing the loudest parts of the vocals to get too loud. This is not always necessary but if you notice your vocal has too much dynamic range a limiter can be helpful.
All of my spatial effects such as reverb, delays, chorus, heavy distortion, etc. I will have in a send that I’ll run the mixed vocal too. This is the best way to maintain the cleanliness of the mixed vocal while still adding all the character that spatial effects add to the mix. When it comes to things like reverbs and delays it’s hard to say a right way to do things, it’s all personal preference and dependent on the song but I have found that less is more. Generally with reverb (unless you intentionally want it to be very noticeable for creative purposes) the best way to dial it in is to turn it up until it becomes obvious and then pull it back just a little bit. I treat delays the same way unless I want them to be particularly noticeable in certain spots in which case I’ll usually automate the delay during those spots.
Although this is a pretty comprehensive guide towards how I mix vocals there is no right or wrong way, the only right way is the way that makes the song sound good. So use this as a starting point and play with different settings and plugins from there depending on the song and vocal you're working on. Trust your ears, if it sounds good it's probably good.


